Have you ever thought about reliving the golden days of gaming by diving back into your favorite childhood titles? The allure of classic gaming is hard to resist, and with today’s technology, it’s easier than ever to create your very own retro gaming console. Using a Raspberry Pi, you can embark on an exciting project that’s both rewarding and nostalgic.
Getting Started: What You’ll Need
Before you can dive into the world of pixelated adventures, you’ll need to gather some essential components. This preparation ensures a smooth gaming experience. Let’s explore the necessary hardware and software to kick-start your retro adventure.
Hardware Essentials
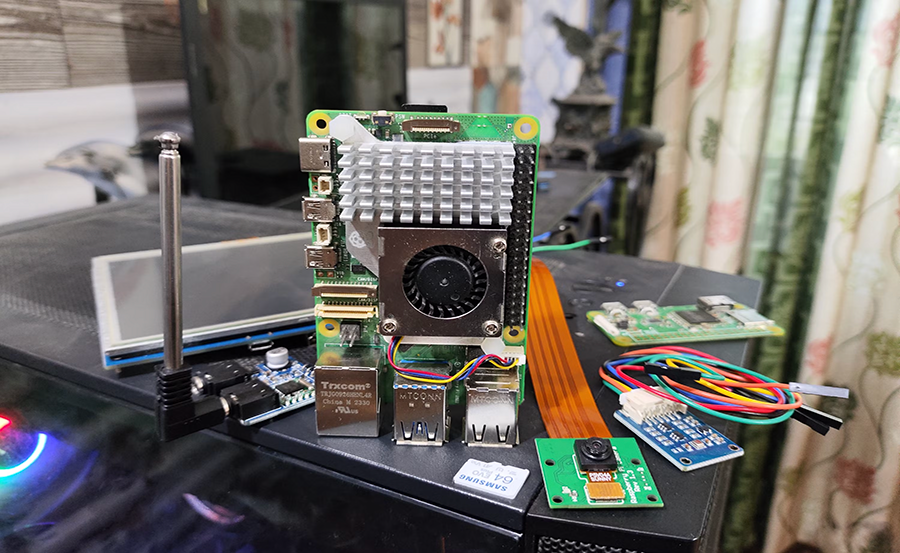
The first step involves selecting the right Raspberry Pi model. The Raspberry Pi 4 is highly recommended due to its superior processing power and compatibility with various emulation platforms. Besides the Raspberry Pi, you will need:

Quick Suggestion:
Upgrade your viewing experience with Best IPTV USA, designed for flawless streaming of your favorite content.
- Micro SD card (at least 32GB recommended)
- Power Supply (5V/3A as suitable for Raspberry Pi 4)
- Micro HDMI to HDMI cable
- Game controller (USB or Bluetooth)
- Keyboard and mouse for initial setup
- Case for Raspberry Pi for protection and aesthetics
Having these items ready will pave the way for a seamless gaming experience.
Software Setup
Once you’ve got your hardware ready, it’s time to focus on the software. The most popular operating system for transforming a Raspberry Pi into a retro gaming console is RetroPie. It’s a robust platform based on Raspbian, designed for emulation that supports a multitude of gaming systems.
To install RetroPie, follow these steps:
- Download the latest RetroPie image from the official site.
- Use an image flashing tool like Etcher to write the image to your SD card.
- Insert the SD card into your Raspberry Pi, connect your hardware, and power it up.
- Follow the on-screen instructions to complete the setup and configuration.
This setup phase is essential and should be approached with care to ensure everything runs smoothly.
Configuring Your Retro Gaming Console
After setting up RetroPie, it’s time to dive into the configuration process to get your games ready. This step involves installing emulators and ROMs that are essential for playing your favorite classic titles.
Installing Emulators
Emulators act as the digital platform for playing games specific to various consoles. To install them, use the built-in RetroPie Setup Script. Navigate to:
- RetroPie Settings
- Select “Manage Packages”
- Choose the emulators you wish to install
Each emulator will allow you to play games from specific consoles. Remember, the legality of ROMs varies by region, so ensure you comply with your local laws.
Loading Up Games
With emulators installed, it’s time to load your games. There are several methods to transfer ROMs to your Raspberry Pi:
- USB Drive: Transfer ROMs to a USB, then connect it to your Raspberry Pi. RetroPie will automatically copy the files.
- SFTP: Use a tool like FileZilla to transfer ROMs over your network.
- Network Share: Access the Raspberry Pi over the network from your computer and drag and drop your ROM files.
Organize your ROMs by console type to maintain an easy-to-navigate game library.
Enhancing Your Gaming Experience
Now that your console is up and running, consider enhancing your experience with additional features such as theme customization, adding additional controllers, and even integrating IPTV for sports streaming.
Custom Themes
RetroPie supports aesthetic customizations through themes. To install a new theme:
- Navigate to the RetroPie Settings menu.
- Select “UI Settings” to browse and install new themes.
A well-curated theme can not only enhance the visual appeal of your console but can also improve navigation efficiency.
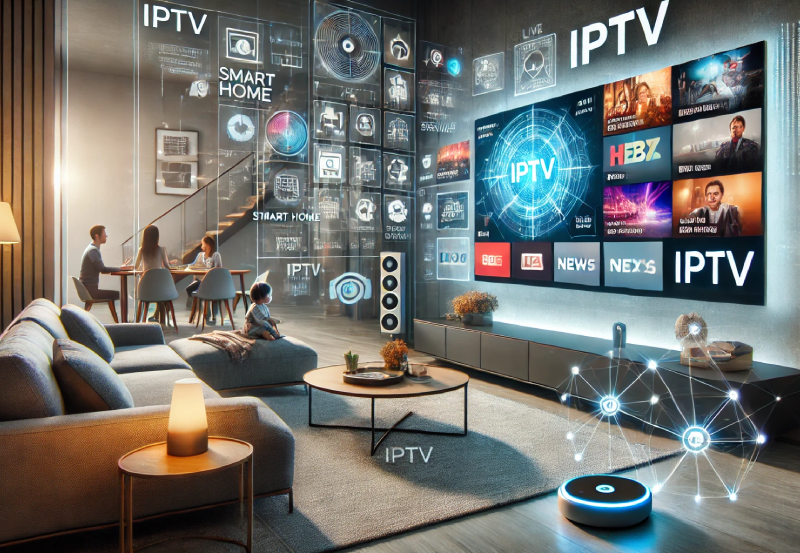
Introducing IPTV for Sports Streaming
Combining gaming with IPTV transforms your setup into an entertainment hub. To enjoy live sports, including IPTV for sports streaming, you need to install an IPTV client. Start by:
- Setting up Kodi on your Raspberry Pi through RetroPie.
- Installing a reputable IPTV add-on within Kodi.
- Configuring the add-on with your IPTV provider settings.
Ensure you subscribe to a legitimate provider to master your IPTV entertainment idea fully.
Regular Maintenance and Tips
To keep your retro gaming console functioning optimally, regular maintenance and updates are key. Here, we’ll touch upon some best practices.
System Updates
Routine updates ensure your RetroPie is running the latest software versions, improving performance and security. You can update through the RetroPie Setup Script by selecting “Update RetroPie-Setup script” and then “Perform a full update.”
Backing Up Your Game Library
Creating backups of your game library can prevent loss in case of SD card corruption or other unforeseen issues. Use a cloud service or external storage to safeguard your collection.
Community and Resources
Building a retro gaming console is as much about the journey as the destination. Engaging with a community of like-minded individuals can enrich your experience. Utilize online forums, guides, and video tutorials to enhance your project.
Finding Help and Support
If you hit a roadblock, don’t hesitate to seek assistance. Platforms like Reddit and the official RetroPie forums can be invaluable, offering troubleshooting advice and tips.
FAQs

What games can I play on my Raspberry Pi retro console?
You can play a wide range of retro games depending on the emulators you install, including classics from NES, SNES, Sega Genesis, and more.
How legal is it to use ROMs on my Raspberry Pi?
The legality of ROM usage varies by jurisdiction. Always ensure you own the original games or access public domain ROMs.
Can I stream live sports events on my Raspberry Pi?
Yes, by using IPTV solutions in conjunction with platforms like Kodi, you can stream live sports events, provided you have the appropriate subscriptions.
Why is my Raspberry Pi running slow?
Performance issues can be due to inadequate power supply, overheating, or an overloaded microSD card. Ensure you are using recommended hardware and monitor system performance.
Is the IP Television App Right for You? A Comprehensive Review